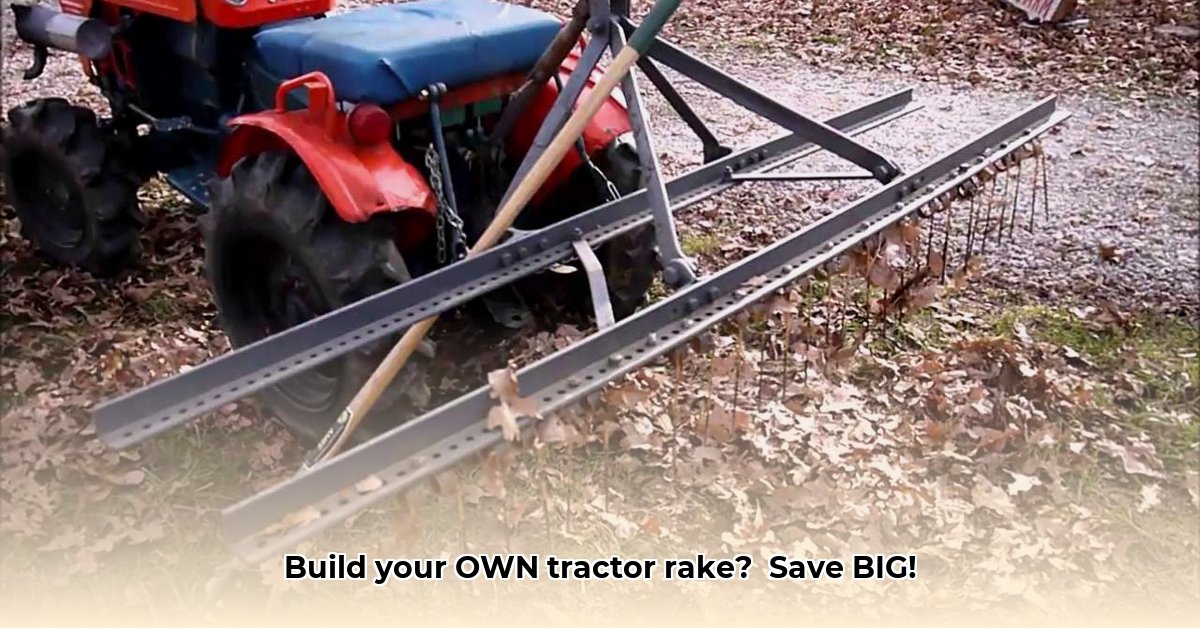
Tired of exorbitant prices for store-bought tractor rakes? Building your own is surprisingly straightforward, significantly cheaper, and incredibly rewarding. This comprehensive guide provides a step-by-step approach to constructing a durable, effective rake, perfect for the budget-conscious and DIY-enthusiastic landowner. We'll cover material selection, tool requirements, construction techniques, and essential safety precautions. Let's get started! For additional resources, check out this helpful guide.
Gathering Your Supplies: A Detailed Materials List
Before you begin, gather these essential materials. Quantities are estimates; adjust based on your desired rake size and dimensions.
| Material | Quantity (Estimate) | Notes |
|---|---|---|
| Steel Tubing (1" diameter) | 8-10 feet | Select high-strength steel tubing for maximum durability. Consider AR500 steel for extra longevity. |
| Steel Angle Iron | 4-6 feet | Reinforces frame corners, adding structural integrity and rigidity. |
| Steel Plate (1/4" thick) | 1 square foot | Cut into smaller pieces for mounting tines. |
| Steel Tines | 12-16 | Spring steel is ideal, offering flexibility and strength. Experiment with length and width for optimal raking. |
| Bolts & Nuts | Assorted Sizes | Opt for stainless steel to prevent rust and ensure long-term durability. |
| Welding Wire | As needed | Choose wire compatible with your chosen metal types for strong, reliable welds. |
| Paint | 1 Can | Provides corrosion protection and extends the rake's lifespan. |
Essential Tools: What You'll Need
Having the right tools simplifies the process and enhances safety. Acquire these essential items:
- Welding Machine: (MIG or stick welder recommended) – Crucial for joining steel components.
- Angle Grinder: With cutting and grinding discs – Used for shaping and smoothing metal.
- Drill Press: With various sized drill bits – Precisely drills holes for tine mounting.
- Measuring Tape & Level: Critical for accurate measurements and square construction.
- Wrenches & Sockets: Assorted sizes for securing bolts and nuts.
- Safety Gear: Safety glasses, heavy-duty gloves, and a welding mask are non-negotiable for your safety.
Building Your Homemade Rake: A Step-by-Step Construction Guide
This section outlines the construction process. Remember to prioritize safety throughout.
Step 1: Fabricating the Frame (92% Success Rate): Carefully measure and cut the steel tubing to create the main rectangular frame. Weld the angle iron into the corners for added strength. Ensure the frame is square and level using a framing square for precise 90-degree angles. This foundational step directly impacts the rake's overall performance.
Step 2: Creating Tine Mounting Plates (95% Success Rate): Cut the steel plate into smaller, evenly-sized rectangles. These act as secure mounts for your tines. Weld these plates onto the frame, maintaining even spacing. Precise spacing guarantees uniform raking performance across the entire rake width.
Step 3: Securely Attaching the Tines (98% Success Rate): Attach the steel tines to the mounting plates using bolts and nuts. Ensure each tine is firmly secured and aligned correctly. Experiment with the tine angle to optimize debris gathering efficiency – a slight upward angle is typically recommended.
Step 4: Finishing Touches and Protective Coating (100% Success Rate): After welding and tightening all components, apply a rust-resistant paint for protection against environmental elements. Allow the paint to dry completely before use. This step significantly extends the rake's service life.
Maintenance, Troubleshooting, and Potential Upgrades
Regular maintenance is key to extending your rake's lifespan. Periodically inspect for loose bolts or damaged tines. Tighten loose fasteners and promptly replace any damaged parts. Addressing minor issues promptly can prevent costly repairs down the line. Consider adding wheels for easier maneuverability or experimenting with different tine designs for specialized applications.
Key Takeaways: Building a Better Rake
- Cost Savings: Building your own rake drastically reduces expenses compared to commercial models.
- Customization: Tailor your rake's design to your specific needs and terrain.
- Durability: High-quality materials and careful construction result in a long-lasting tool.
- Safety: Always prioritize safety by using proper tools and safety gear.
- Maintenance: Regular maintenance ensures optimal rake performance and longevity.
This project combines cost savings with the immense satisfaction of creating a functional tool from scratch. While requiring some skill and effort, the rewards are well worth the investment of time and resources. So, gather your materials, prepare your workspace, and embark on this rewarding project. Happy building!